In this tutorial I will teach you how to make a beautiful design from just a photo.
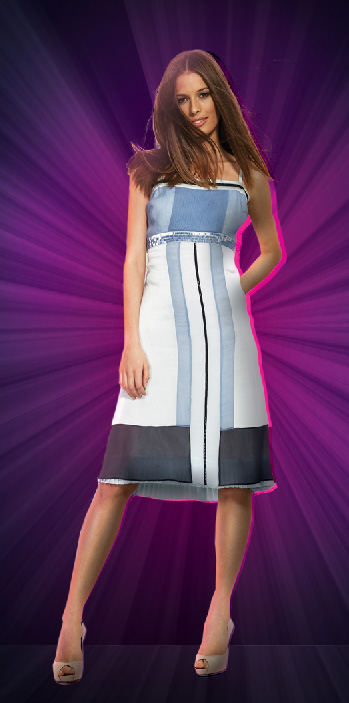
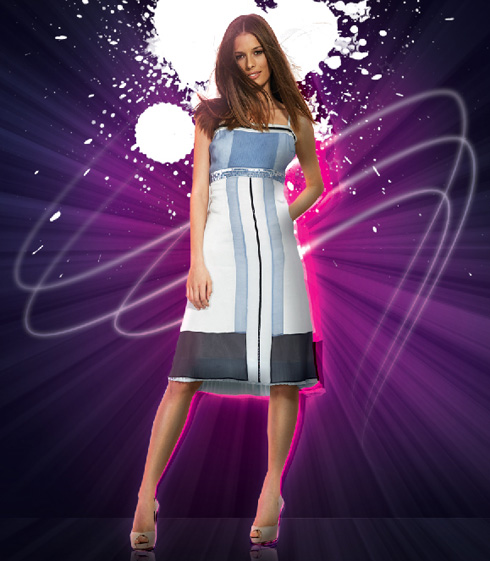
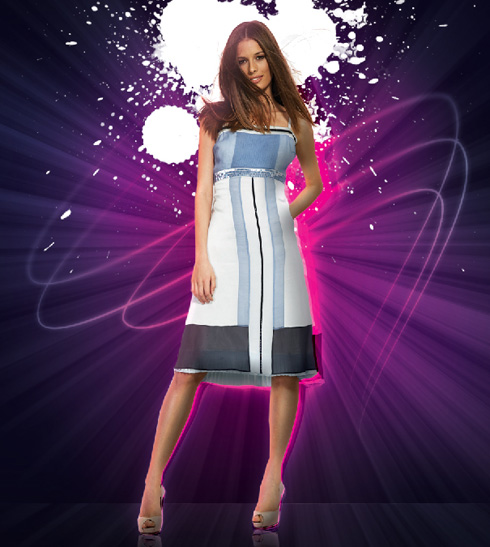
Final Image Preview
Create a new file (
File>New) of
1920×1200px/72 dpi. Using the
Paint Bucket Tool (G), fill the background with black color.

Let’s represent a separate file (
File>New) of
1000×1000px/72 dpi.

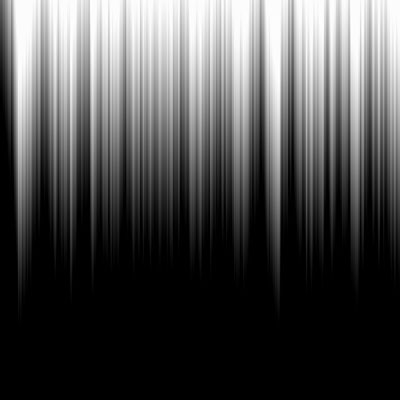
Using the
Gradient Tool (G), try to represent a light passage the same way demonstrated below:


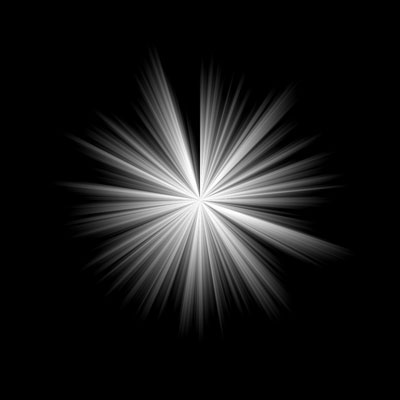
Select on the same layer
Filter>Distort>Wave
Apply on the same layer the next option:
Filter>Distort>Polar Coordinates
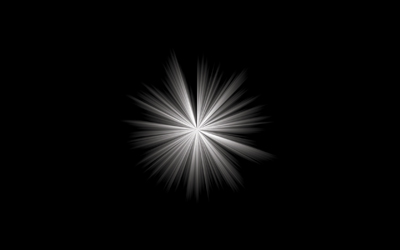
Put the rays’ bunch on the first created file:
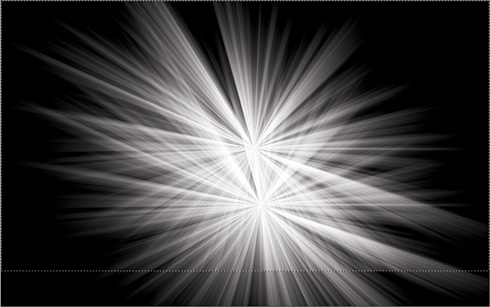
Using the
Free Transform option, enlarge a little and stretch out the bunch.


Click on the same layer on the bottom part of the layers’ panel on
Add a Mask option and select the
Rectangular Marquee Tool (M)to mark out the zone the same way as it is shown on the picture. Using
a standard brush of black color, try to clean out the zone with the
marking.


Make a copy of the layer containing the rays’ bunch. Move of the
mask from the layer’s copy and move the copy’s layer downwards,
applying
Free Transform
Insert the mask on the copy’s layer the same way we did earlier for the layer with the rays’ bunch. Using the
Rectangular Marquee Tool (M) and the
Brush Tool (B), mark out the zone the same way from below, cleaning it out with the brush of black color.

Set the same parameters for both layers of the rays’ bunch:
Blending mode-Overlay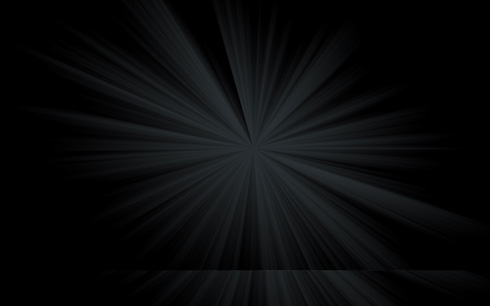 Create a new layer
 which must be processed with a standard brush and paint the rays with the color
#372F7D. This layer needs to be placed lower than the rays’ layers (on the layers’ panel).


The layer’s parameters:
Blending mode-Soft light
 Create a new layer
 and use the standard brush we did with the previous example. Paint the central part of the rays with the color
#EA108C. Place this layer above the previous one, but lower than the rays’ layers.

The layer’s parameters:
Blending mode-Overlay
Using the standard brush of black color (
Opacity 20%), try to dark out the picture’s edges:


Find a stock photo with a model represented on it, I used this
photo from
deviantart. I would like to thank the
author of this photo :

Cut the model out and insert it on the new layer.

Set the next styles on the same layer:
Blending Options>Inner Glow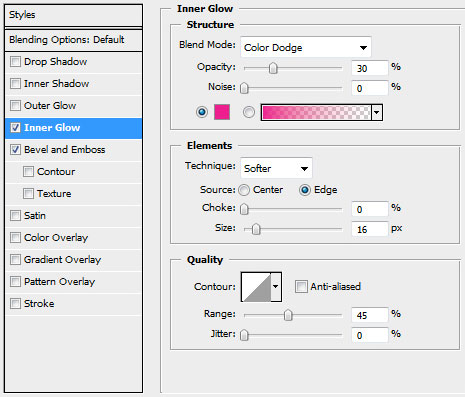 Blending Options>Bevel and Emboss

Make a copy of the girl’s layer. Move off the effects out of the copy’s layer and choose
Free Transformoption to turn over the copy’s layer on several millimeters, fixing the
axe’s central part on the left girl’s leg. This layer needs to be
placed under the very first layer with the girl.

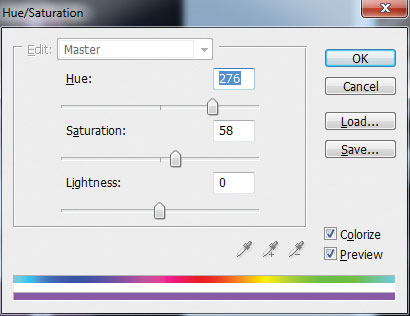
Press
CTRL+SHIFT+U and then
CTRL+U.
The copy’s layer with the girl (the very first layer is hidden for reflecting the result).

The layer’s parameters:
Fill 72%,
Blending mode-Vivid Light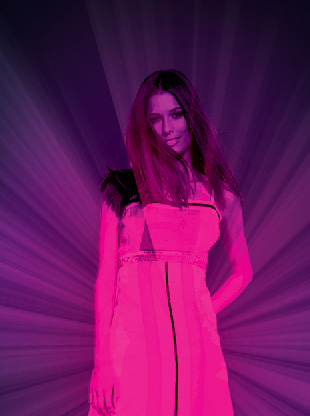
Make three copies of the girl’s layer containing the copy. Move each
next layer on the central part of the left girl’s leg. Each copy’s
layer needs to be placed lower than the previous one. The
Fill parameter for the first copy is
72%, the second one –
39%, the third one –
48%.
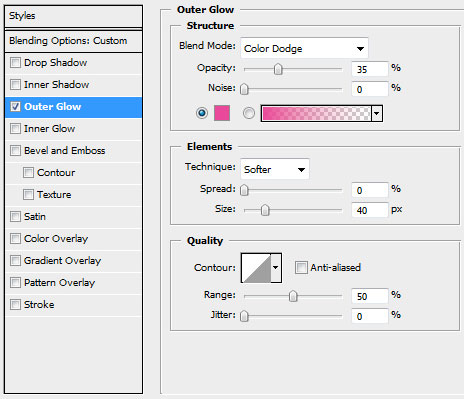
Select the next styles for the layer of the lowest copy (the 3rd):
Blending Options>Outer Glow

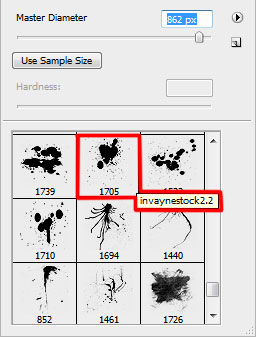
Download a set of
brushes for Adobe Photoshop, named: bloodbrushes2_invaynestock.
Create after that a
new layerand apply a brush out of the downloaded set. The brushes have white
color. Place this layer lower than the very first layer of the girl.

Make a copy of the very first girl’s layer and choose
Free Transform option to turn over the copy, placing it as below:

Click on the same layer on the bottom part of the layers’ panel on
Add a Mask selection and choose a standard brush of black color (
Opacity 20%) to clean out smoothly the reflection.

Now we have to represent several lines, but for the beginning draw their paths. In this case we’ll apply the
Pen Tool (P) (
Path mode)


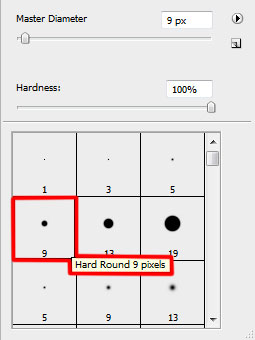
Next we’ll create a
new layer, select a standard brush of white color (
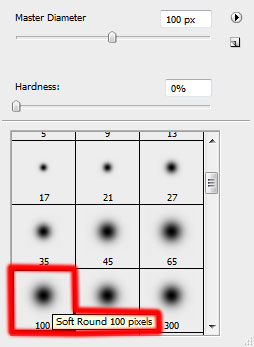
Diameter 9,
Hardness 100%). Using the
Direct Selection Tool (A), select the lines and then change the instrument with the
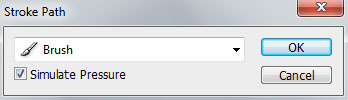
Pen Tool (P) and make a right click on the marked line to select
Stroke Path (
Brush mode). Place the layer with the lines lower than the girl’s layers (on the layers’ panel).

Click on the same layer on the bottom part of the layers’ panel on
Add a Mask selection and choose a standard brush of black color (
Opacity 40%) to clean out the lines the same way demonstrated below:

Set the next parameters for the made layer:
Fill 63%, Blending mode-Overlay
Make a copy of the layer containing the lines and move of the layer’s mask, applying the next option:
Filter>Blur>Gaussian blur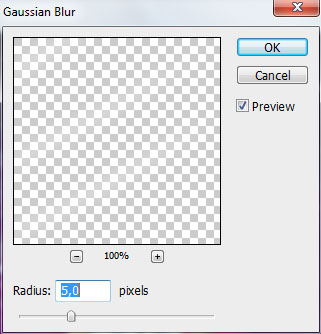
The layer’s parameters:
Blending mode-Overlay
 Create a new layer
 and select on it a standard brush of white color to represent a lot of dots.

The layer’s parameters:
Blending mode-Overlay
Make a copy of the last made layer with the dots and choose for this layer the next demonstrated parameters:
Fill 70%, Blending mode-Soft Light
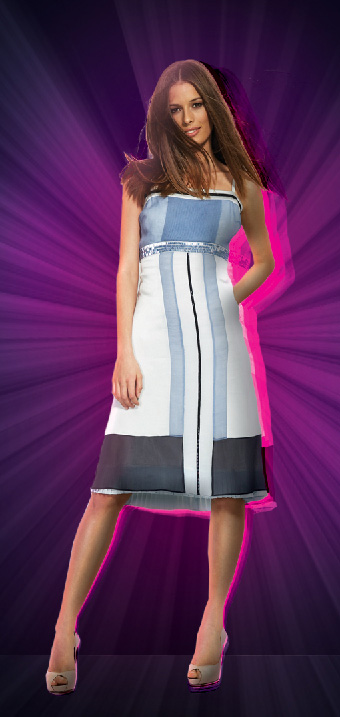
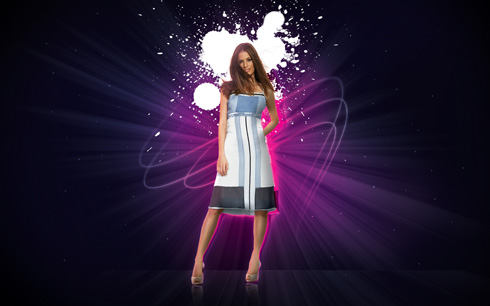
The final result!
Tutorijal sa :
www.adobetutorialz.com


